Friday, October 19, 2012
Friday, June 8, 2012
Monday, May 7, 2012
Saturday, March 17, 2012

Thursday, February 23, 2012
Boho Strapless Top Tutorial
I am not a summer person. However, occasionally in the dead of winter I get a small longing for the sun on bare shoulders and a warm breeze. With that in mind, lst year I designed this super simple top for my store..


Really cute right?? But the darn things wouldn't sell? So I changed the design a little bit, like this...

Again, not too shabby right? But you guessed it, the darn thing wouldn't sell. Don't get me wrong, they got tons of hits and everyone raved about how cute they were, but they just weren't selling. So, now I'm going to throw out a challenge. I challenge all of you to make one of these adorable little strapless, or strapped, boho tops and tell me what I need to do differently?
Oh yeah, did I mention that if you do it in knit it also doubles as a skirt?? Like this...

Uh-huh, now you're really excited aren't you? This takes me about half an hour, but I've made a few 100 of them so allow for an hour at least. You can also see this tutorial at icandy
You will need:
1 yard of fabric (knit, cotton lawn, gauze cloth all work well) the width of your fabric (from selvage to selvage) should be a few inches wider than the widest part of you. For me that's my hips (*sigh*) but for some ladies it may be the bust area.
Matching thread
A package of elastic - anywhere from 1/2" - 1" wide is fine
Ball point needle if you are sewing with knits
I'm using a cotton lawn that I have recycled from an old swim cover up. Fold your fabric selvage to selvage and measure the widest part of yourself - cut your fabric at least 4 inches wider. This will allow ease, so the finished top is not hugging your hips (or for you lucky girls, the ta-tas). In addition you want to measure from the top of your bust where the shirt will hit, to where you want your finished boho top to hit on your hips. Remember to add 3" to allow for hemming.

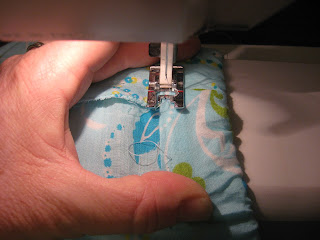
Now sew with right sides together. (sorry for the blurry pic, I was sewing with one hand, photographing with the other, watching "Say Yes to the Dress" with one eye, watching a 5 year old with the other eye, and arduously explaining why you can't play Nintendo DS for 3 hours a day...)

Next we are going to fold down the top of your boho top in a way that will leave a wide enough hem to thread your elastic through like so...

Mine is 3/4" but if you use 1/2 elastic, yours will need to be a little bit smaller.

Pin and sew your hem, but leave an opening large enough to thread the elastic into...


Ready, set, thread the elastic...

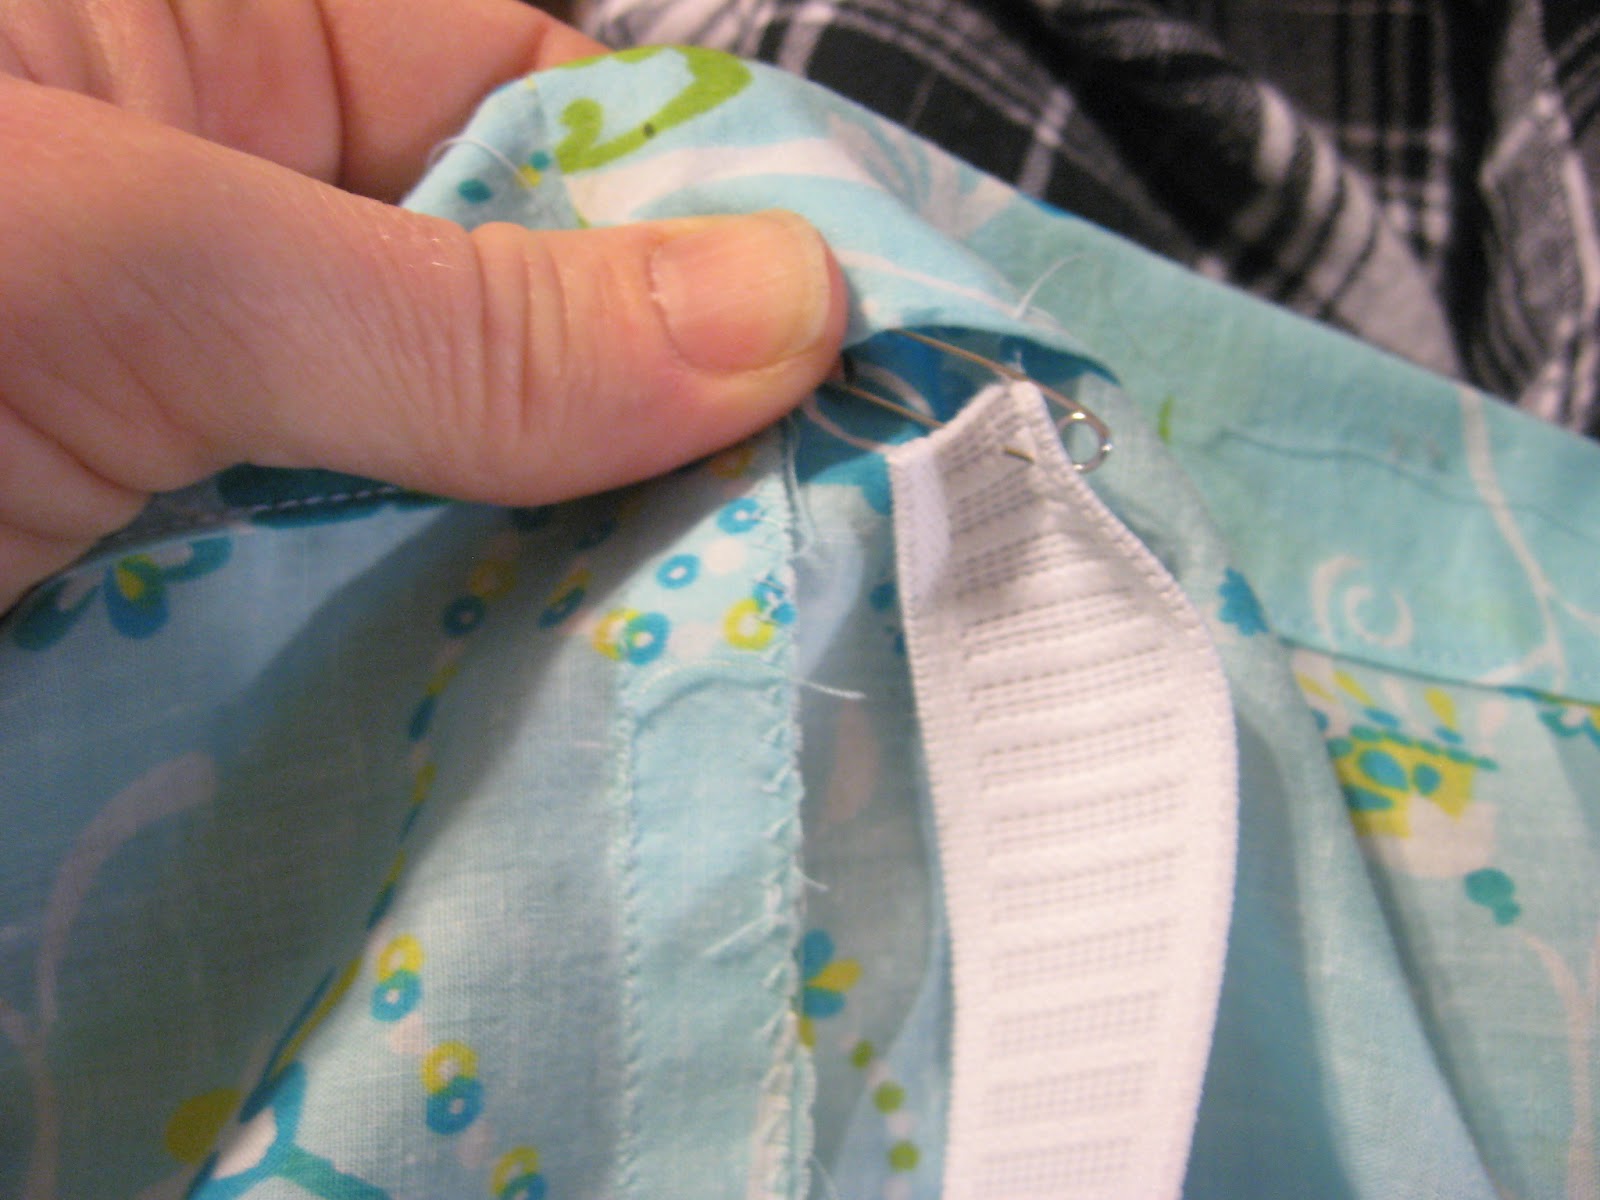
Once you have your elastic threaded, sew up the opening.

Next you'll want to hem the bottom of your top (mine was already hemmed since I recycled an old swim cover!)
At this point you can be done if you want...

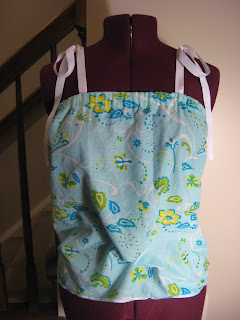
I like a little extra support on mine so I added ribbon straps to my top.

Voila! Really cute right? Great with shorts, skinny jeans, sloppy jeans, capris, a little jacket, etc...Now why won't these things sell??
Knit legwarmer tutorial
Blogs are life! Don't you think so? I think so...honest to blog I do...
As a designer and store owner blogs are the absolute life blood of my business. I rely on them for inspiration, comic relief, and advertising even though mine is woefully neglected. Icandy.com is one of my favs, it never fails to offer all of the above (with the ocasional heartwarming story thrown in as well). So, when Autie and Jen let me come on board as a sponsor for this rapidly growing little blog I jumped at the chance! I've done a giveaway (hopefully I'll do another soon) but this time I wanted to share a project. I decided I'd commit to a tutorial! In my mind it went like this..."Sure Steph, do a tutorial! You'll love it, you can really wow them and you have a whole month to work on it!" Hmmm....Easier said than done. Good luck thinking up a great project that hasn't already been done, and usually much better than I ever dreamed! I wracked my brain, and finally decided that I would offer a neat little project that focused on an item I've been wanting to try in the shop, along with my kickin' new boots. I'd love to hear any feedback on whether or not this is a marketable item! Here goes - thermal knit legwarmers!!
You can also see this tutuorial on icandy
I wanted Leg warmers that were fairly thin and would sort of "slouch" right at the top of my boots. I used a lightweight thermal knit in Olive.

I also like the "Turned Down Pirate Boot" effect in this pic...

First I measured the widest part of my thigh (this was fairly traumatic) and cut my fabric 4 inches shorter than the widest part of my leg. For example, if my thigh is 14" wide (Hahahahah...oh, that's rich) then I cut my fabric 10" wide. You want to take measurements all the way down your leg and graduate the cut like you see below...


As you can see I cut the fabric on the slant - and I made sure that the stretch in the fabric was going to be around my leg, not in the length of the leg warmer. I measured from mid-thigh to my ankle.
Keep in mind, I wanted something feminine and slouchy, so I didn't want them to be skin tight. Plus, I had every intention of "ruffling" the edges just like I do my scarves - like this black one.
Next I sewed up the edges. With my fabric it didn't matter (since both sides are alike) but with yours make sure you sew them with right sides together.

Once you have it sewn up, try it on for size and make any sewing adjustments as needed. When I first put mine on they were Waaaaayy to big, and I had to keep shaving off inches until I got it right. This will depend a lot on how much stretch is in your fabric. Mine had 50% stretch, so it was very forgiving.
Now comes the fun part! Ruffling! I LOVE working with knits (as you can see from my store Ooh Baby Designs ) one of the things I love most is how easy it is to ruffle the knit. For the ruffling set your zig-zag stitch anywhere from 2.0 - 5.0, any higher and your ruffle starts to look sloppy. Then as you finish the top and bottom edges of your leg warmers pull the fabric tight. As it runs through the machine it will start to "lettuce" on the edges.


Once you finish, put them on with tights, jeans, boots...whatever - and enjoy!!
Subscribe to:
Posts (Atom)